Start with the instructions and the space
Furniture assembly tends to go more smoothly when the room is ready before the first fastener comes out of the bag. A clear floor, time to review the instructions, and a plan for handling the parts can prevent avoidable delays and damage.
Begin by identifying the finished dimensions, the order of the major steps, and any warnings. Check whether the directions call for two people, a particular tool, or attaching a part to a wall. Look for details such as which side faces outward, whether holes align on the left or right, and whether a panel is upside down in the illustration.
Next, choose a location with enough room to work. You need space for the finished item, its panels, hardware, and the person assembling it. For a large item, consider whether it can be built in its final location rather than carried through a narrow doorway afterward.
Before opening the box
Make a quick access plan
Measure tight turns, stair landings, hallways, and doorways on the route from the delivery point to the room. Move rugs and small furniture out of the way. Keep pets and children clear of the work area, and make sure the room has enough light to distinguish similar-looking pieces and hardware.
If the item is going into a furnished room, protect the floor with a clean blanket or cardboard. Avoid placing finished panels directly on rough concrete, grit, or a surface that could scratch them. Keep drinks, food, and sharp objects away from upholstery and wood finishes.
Gather a modest set of supplies
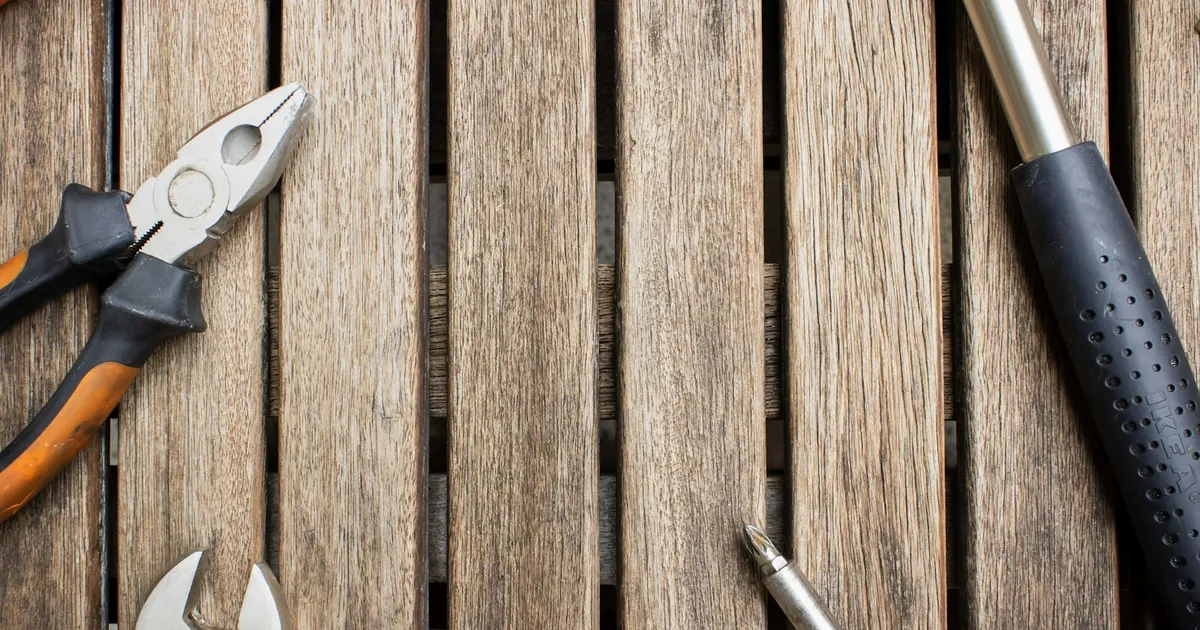
The manufacturer’s instructions should determine which tools are needed. Many flat-pack products include a basic hex key, but a correctly sized screwdriver, a small parts dish, and a soft cloth can also be useful. A level may help with final positioning. Use power tools cautiously, if at all: excessive speed or force can strip a screw, damage a finish, or split a panel. Never substitute a tool that does not fit the fastener securely.
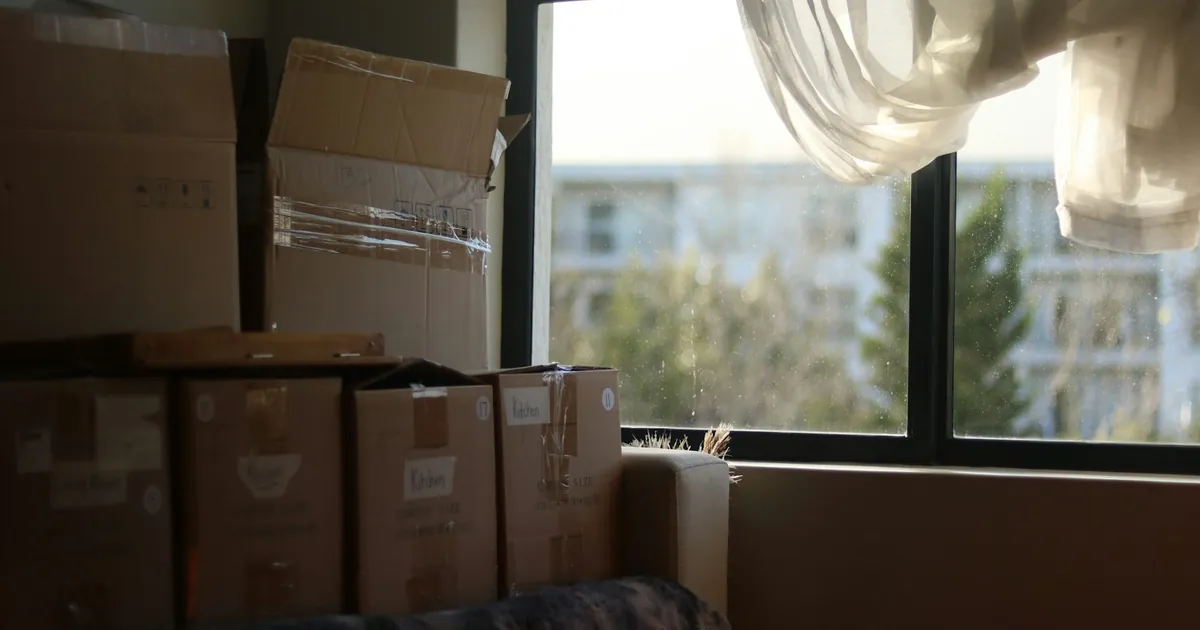
Keep the packaging until the assembly is complete and the item has been checked. The carton can protect surfaces during work, and its labels may help identify the product if a part or instruction question comes up. Follow local guidance for recycling or disposing of packaging when you are finished.
Sort parts before building
Open packages carefully so a blade does not cut into a panel or cushion. Compare pieces with the parts list, then lay out components with labels visible. Separate hardware by type in a tray or small containers. Avoid mixing similar-looking screws; a difference of a few millimeters can matter.
If something appears missing, damaged, or inconsistent with the instructions, pause and check the packaging and parts diagram before proceeding. Do not force an ill-fitting part or improvise with an unrelated screw. Contact the retailer or manufacturer through its normal support process for product-specific guidance.
Build steadily and check your work
Follow the sequence in the manual rather than assembling familiar-looking sections out of order. Start fasteners by hand where possible, and tighten them only as directed. Some products require components to remain loose until the frame is aligned; tightening too early can make later holes difficult to match. If a piece resists, stop and confirm its orientation instead of applying more force.
For a large or awkward item, ask another person to help when the instructions call for it. Keep fingers clear of pinch points and use a stable stance. Do not climb on unfinished furniture or use it before it is complete and stable.
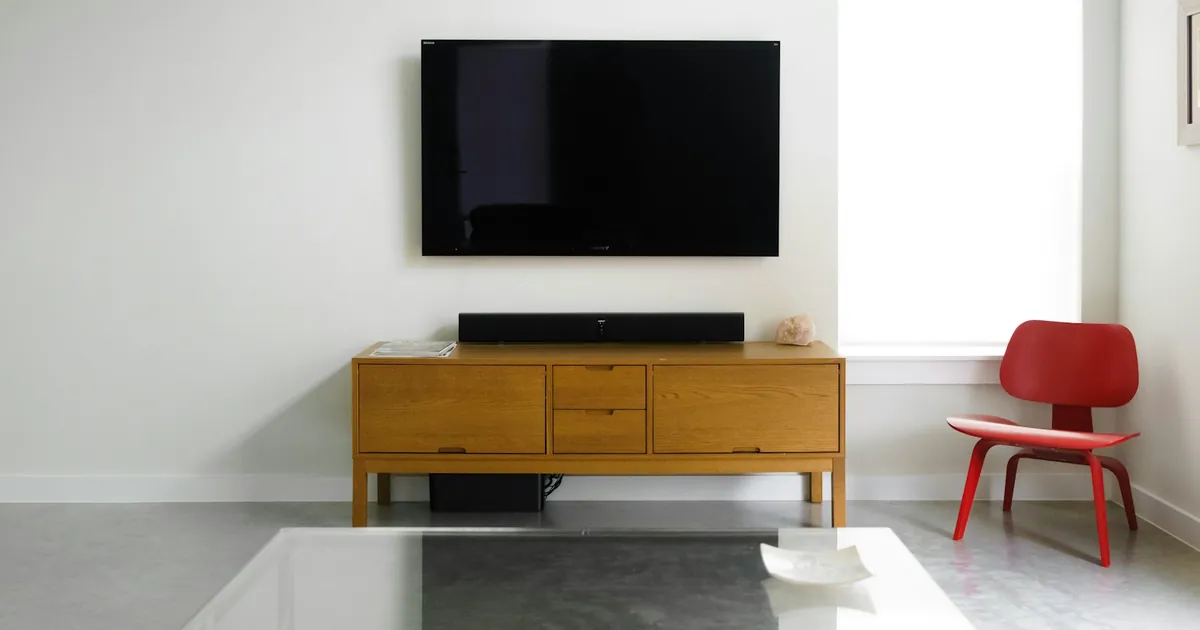
When the build is finished, inspect the item against the instructions. Confirm that fasteners are seated as directed, doors or drawers move freely, and the product sits level. If the manufacturer specifies an anti-tip restraint, install it as instructed and into an appropriate wall surface; use the supplied guidance rather than guessing about anchors or placement.
A short pre-assembly checklist
- Clear and protect a space large enough for the parts and finished item.
- Review the full instructions and note tools, helpers, or wall attachments required.
- Check the delivery route for narrow turns and obstacles.
- Sort components and hardware, and report missing or damaged parts before continuing.
- Work in sequence, avoid overtightening, and complete the final stability checks.
Taking these steps makes it easier to spot a problem early and keeps the work area organized. If you would rather have help with the build, learn more about furniture assembly and decide what best fits the project.